

How to Fix a Loose Door Handle

A loose, wobbly, or misaligned door handle is a common household nuisance—but it doesn’t always require a professional. Whether you have a lever handle or a doorknob, most issues can be fixed in under 15 minutes with basic tools.
This guide covers everything you need to know to secure your door hardware and prevent further damage to your door.
Quick Project Overview
- Estimated Time: 10–15 minutes
- Difficulty Level: Beginner
- Cost: £0 (DIY)
Tools You’ll Need
- Phillips Head Screwdriver: For standard mounting screws.
- Flathead Screwdriver: To pop off decorative cover plates (roses).
- Allen Key (Hex Key): (Optional) Needed if your handle uses a small “grub screw” on the side.
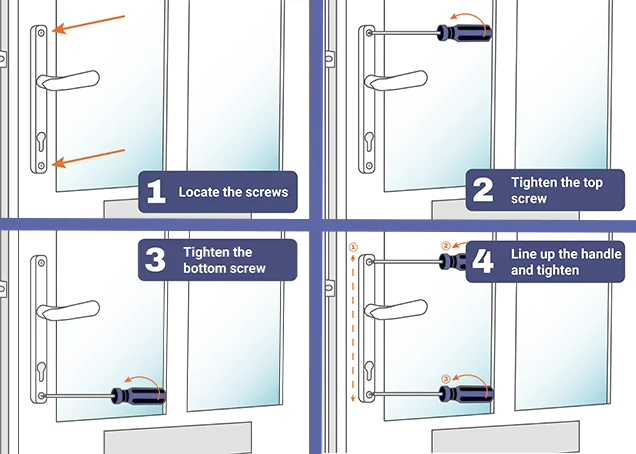
Step 1: Locate the Mounting Screws
Before you can tighten anything, you need to find the screws holding the handle to the door.
- Visible Screws: If you see screw heads on the faceplate, skip to Step 2.
- Hidden Screws: Many modern handles use a decorative cover (the “rose”). Look for a small notch on the edge of the plate. Insert a flathead screwdriver and gently pry it off to reveal the screws underneath.
- Check for Grub Screws: Look at the neck of the handle. If there is a tiny hole, you may need an Allen key to tighten the handle to the spindle first.
Locksmith Tip:
If you can’t see the screws, they may be hidden under small caps or behind the handle plate. Look for a small indent on the plate where you can insert a flathead screwdriver. Apply gentle pressure, and the cover should pop off to reveal the screws underneath.

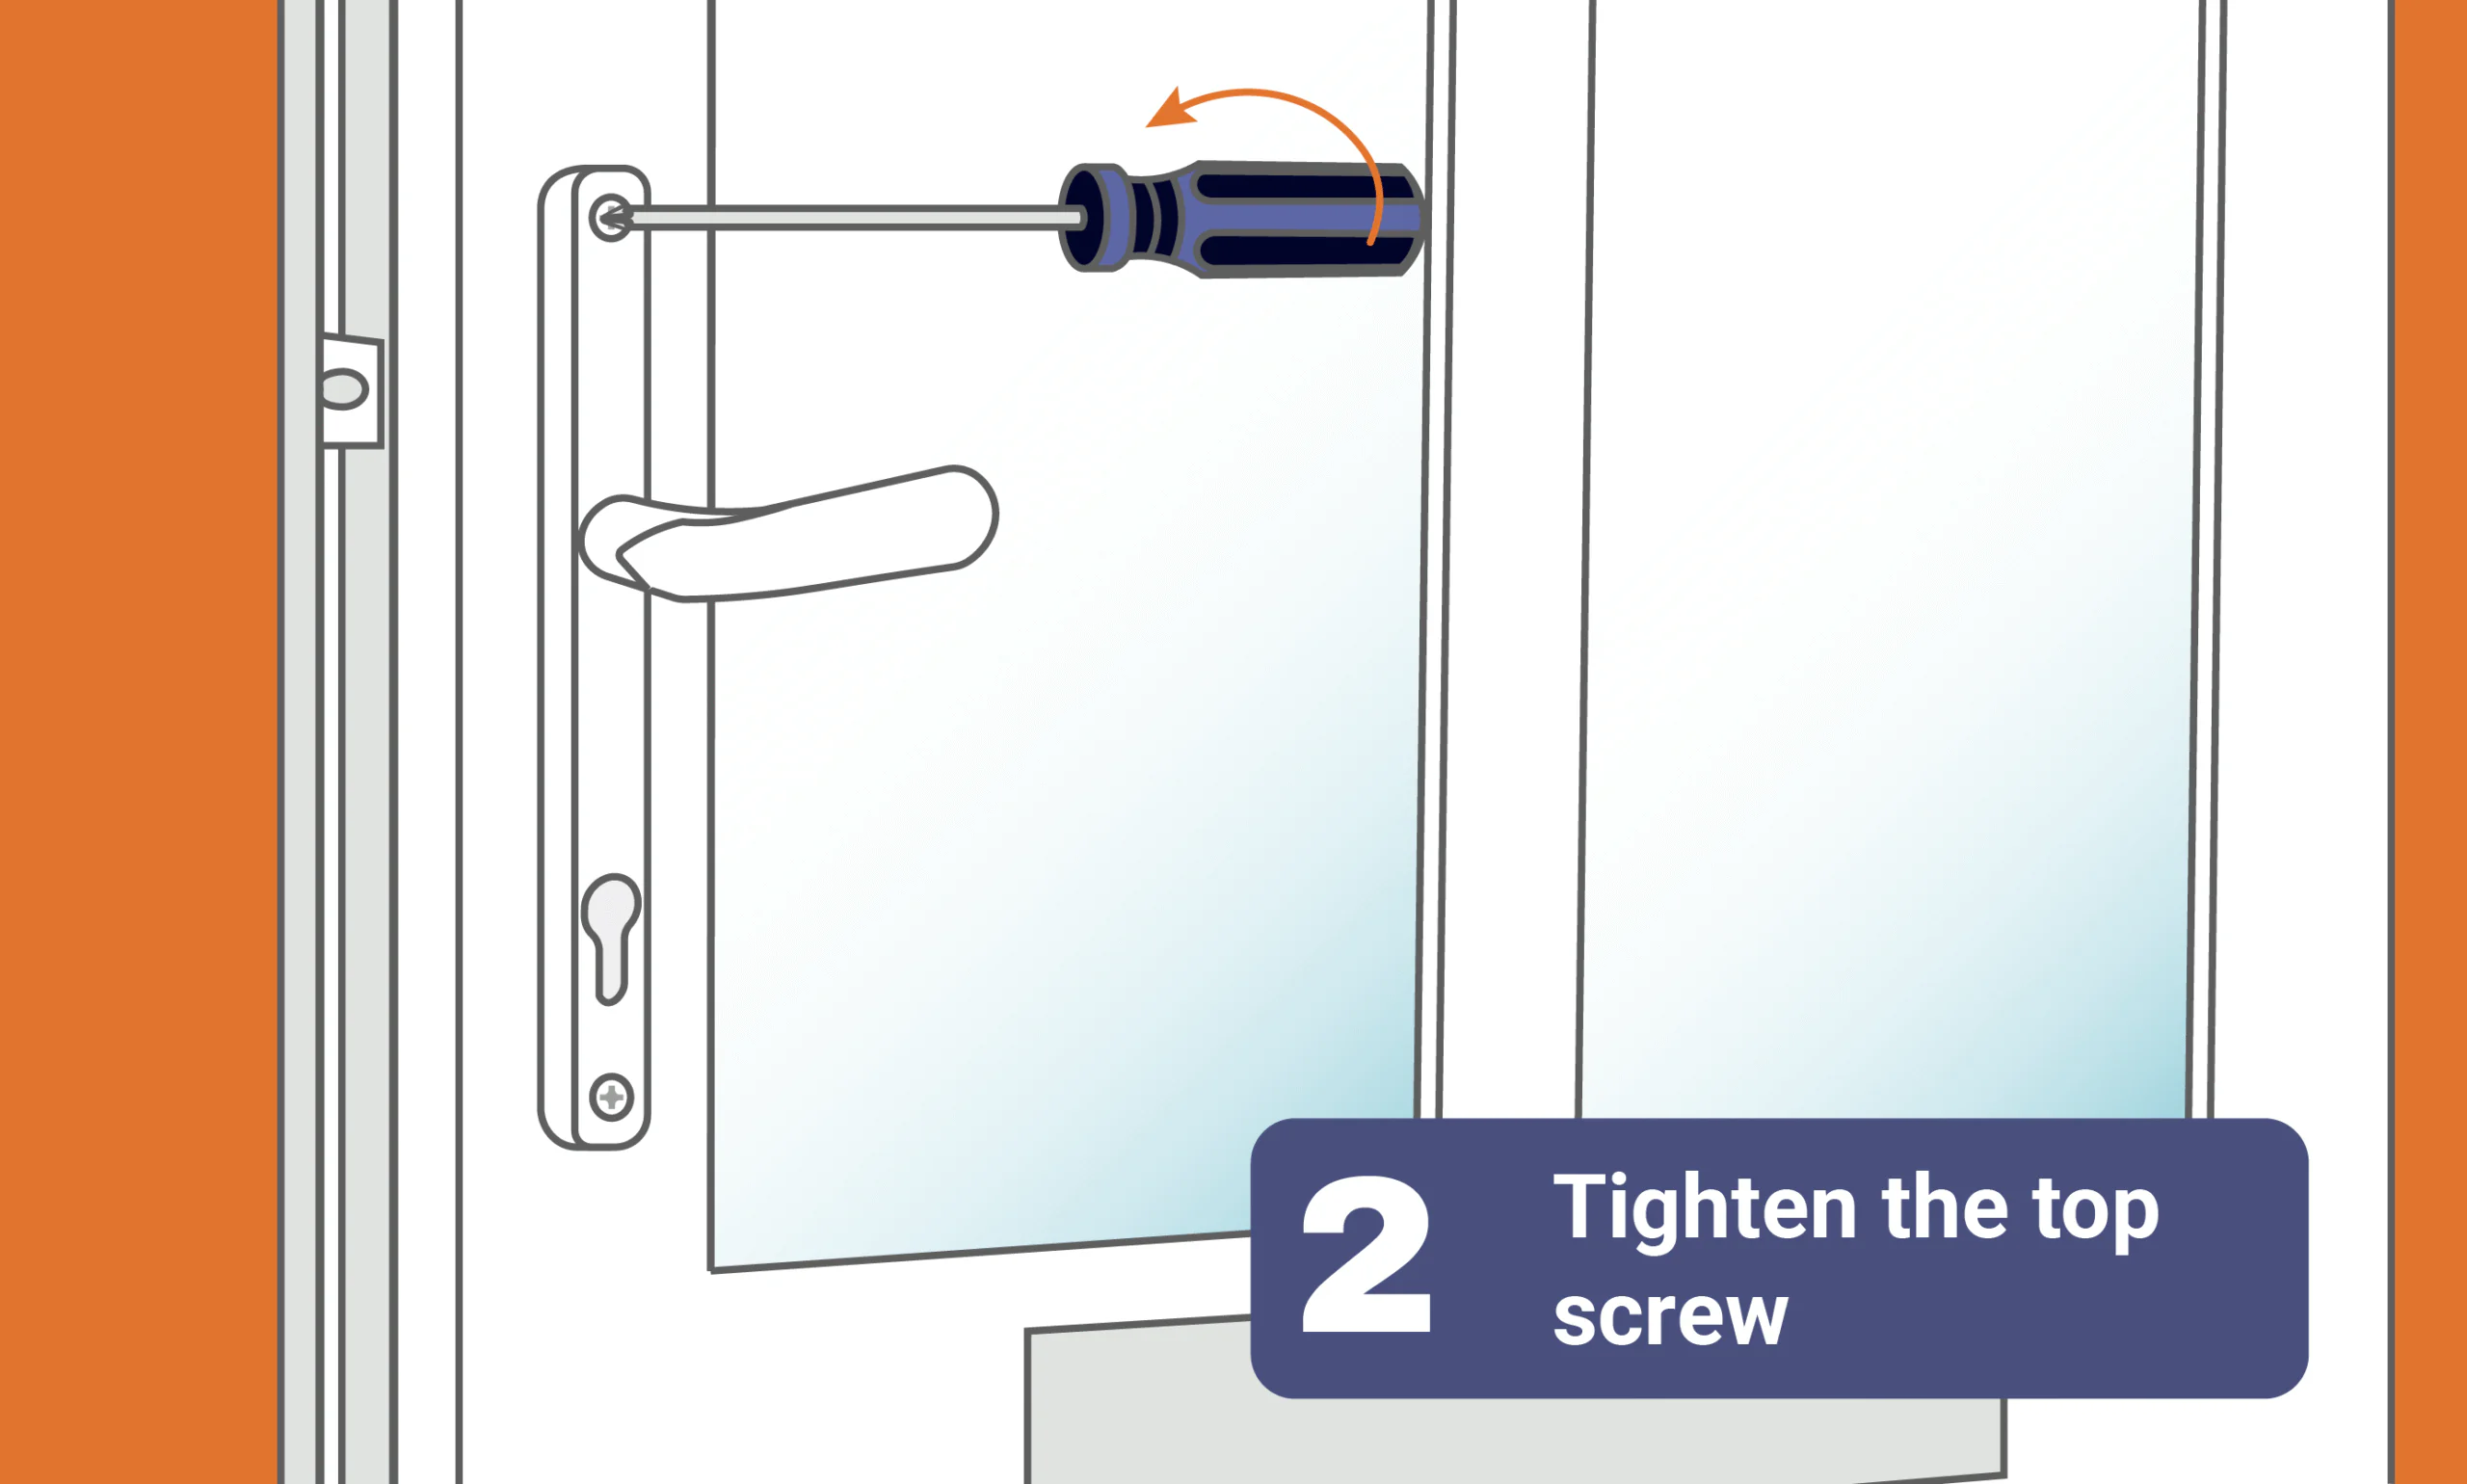
Step 2: Tighten the Top Mounting Screw
Use a Phillips head screwdriver and turn the top screw clockwise. Tighten it enough so the handle feels more secure but leave a little room for adjustment. Don’t fully tighten just yet
Step 3: Tighten the Bottom Mounting Screw
Repeat the same process with the bottom screw. Turn clockwise until the handle sits flush against the door with no visible gap.

Step 4: Line Up the Handle
Once both screws are in place:
- Check the handle is straight and properly aligned.
- If needed, loosen one screw slightly (anticlockwise) to adjust the position.
- When happy with the alignment, fully tighten both screws.
Locksmith Tip:
Avoid over-tightening — this can strip the screw, damage the handle, or even split the door material. The screws should be firm enough that the handle doesn’t move but not forced.

Testing if You’ve Fixed the Loose Door Handle
Test the handle several times while the door is open.
- Does the latch fully retract?
- Does the handle spring back to its original position?
If the handle feels “sticky”, loosen the screws by a quarter turn – you may have compressed the internal spring too tightly.
How to Prevent Door Handle Problems
Regular maintenance can help avoid future issues:
- Tighten screws periodically
- Lubricate handles and locks every few months
- Avoid forcing stiff handles
- Check door alignment early
Keeping your door and lock in good condition can extend its lifespan and prevent costly repairs.
Troubleshooting: Door Handle Still Loose?
If the screws keep spinning and won’t tighten, or if the handle still wobbles, you may have one of these issues:
- Stripped Screw Holes: The wood inside the door has worn away. Fix: Insert a matchstick or toothpick with wood glue into the hole, let it dry, then re-insert the screw.
- Broken Internal Spring: If the handle dangles or won’t “spring back,” the internal cassette is likely broken.
- Worn Spindle: The metal bar connecting the two handles may be worn down.
When to Call a Professional Locksmith
If your handle is part of a multi-point locking system (common on uPVC doors) and it remains loose, the internal gearbox may be failing. This can lead to being locked out. Contact a local locksmith to inspect the mechanism before it fails completely.

Max Kelly
Max is a home security how-to expert with extensive knowledge of securing doors, windows, and entire properties. With years of experience in the field, he specialises in easy-to-follow DIY solutions for common security issues. His practical, step-by-step guides empower homeowners to strengthen their safety measures with confidence and ease.

Jim Lockwood
Jim Lockwood is a fully qualified locksmith with over 10 years of hands-on experience in domestic, commercial, and emergency locksmith services across the UK. Holding a Level 4 NCFE Locksmithing accreditation—Jim is a trusted authority in lock security, key systems, and burglary prevention.
As Keytek’s lead technical content specialist, Jim draws on real-world experience to create detailed, trustworthy resources that help homeowners, tenants, and professionals make informed decisions about their security. From guiding readers through emergency lockout procedures to explaining locksmith pricing, his content combines expert knowledge with practical, easy-to-follow advice.
Throughout his career, Jim has tackled a wide range of locksmithing scenarios—including uPVC door lock failures, snapped keys in locks, and high-security upgrades and remains actively engaged in the locksmith industry, staying up to date on emerging technologies, British Standards, and security legislation. This ensures that every guide, article, and tutorial he authors is not only accurate and actionable but also aligned with the latest best practices.
Related articles
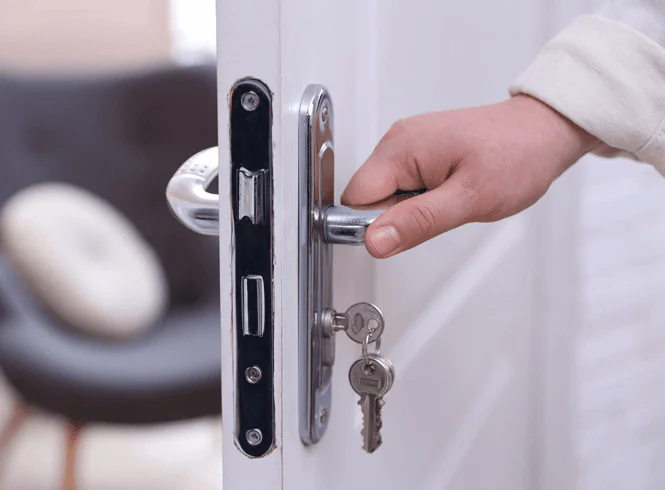
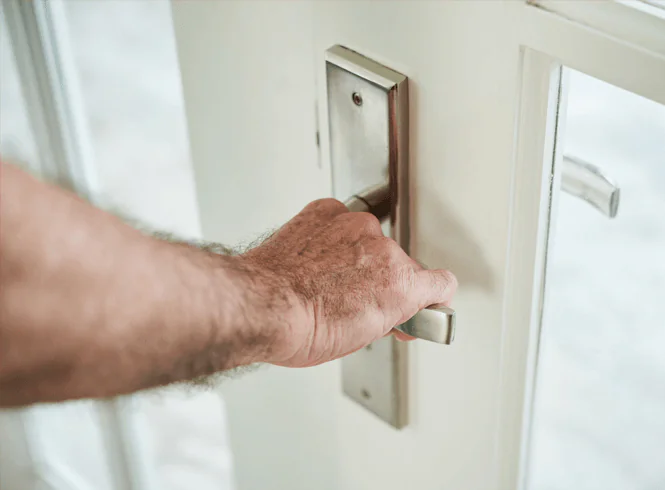
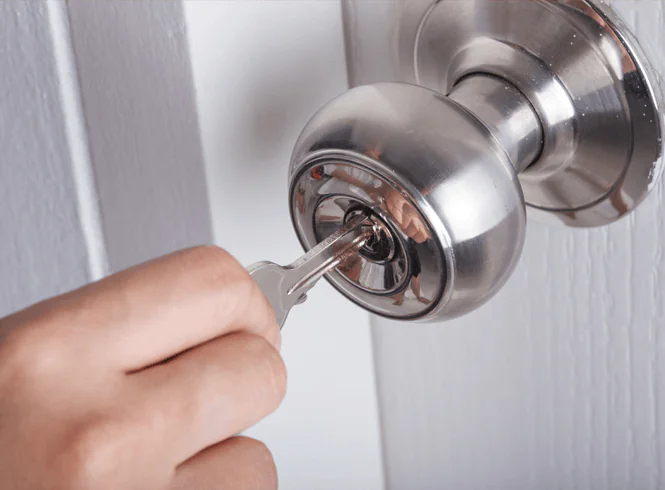
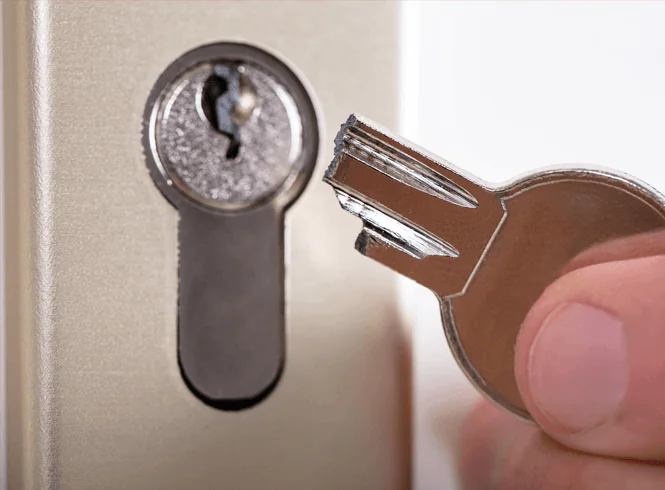
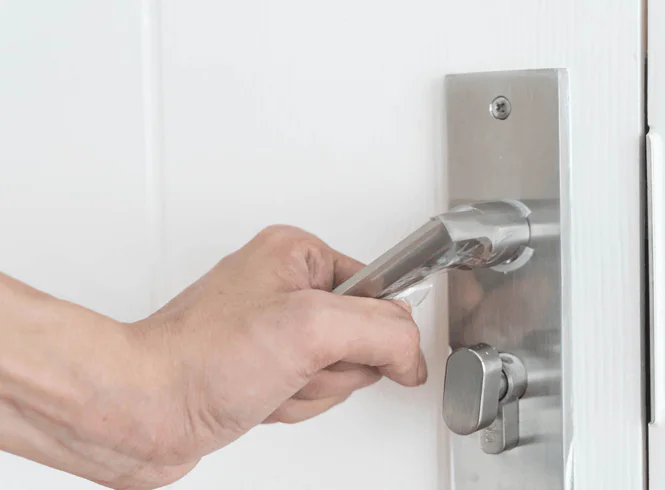
Common signs include wobbling when you turn the handle, visible gaps between the handle plate and door, rattling sounds, or the handle feeling loose to the touch. If you notice any of these issues, it’s time to tighten or repair it.
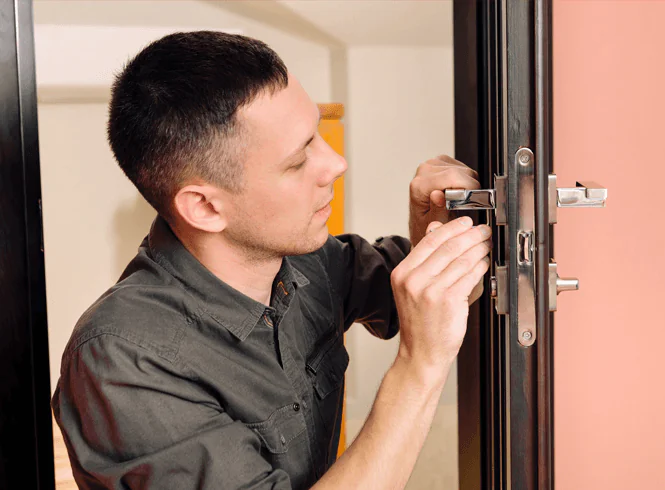
Yes! This is one of the easiest DIY home repairs. Most loose handles can be fixed in 30 minutes to an hour with just a couple of screwdrivers and no special skills required.
Many modern handles have hidden screws concealed under small caps or behind the handle plate. Look for small indents or seams on the plate where you can insert a flathead screwdriver to pop off the cover.
Tighten the screws until the handle feels secure and sits flush against the door with no gap. Stop when you feel resistance—don’t force them. Over-tightening can strip the threads, crack the handle, or damage the door.
A slightly loose handle isn’t an immediate threat, but if left unfixed, it can wear down the internal mechanism and eventually fail completely—which could leave you locked in or out, or compromise your home security.